Interior decorations made of wooden boards, the so-called. paneling or veneered boards are the traditional methods of decorating interior and exterior walls. Wood, however, comes in a variety of forms, shape, color, Drawing and artwork can be used on a variety of decorations. Special, atypical decorative walls made of wood, the more beautiful they are the more effort we put into their execution.
It is more laborious to make special decorative walls from wood, requires a lot of time and good material.
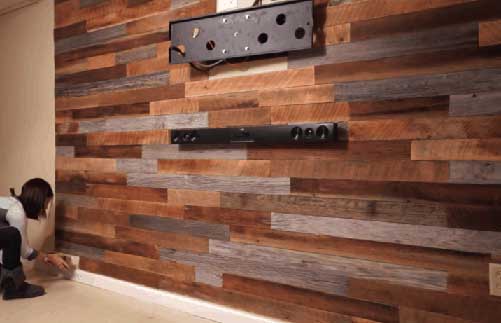
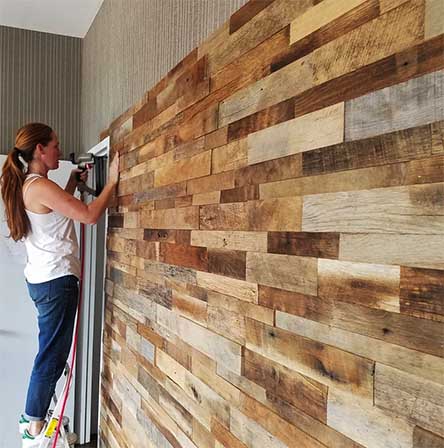
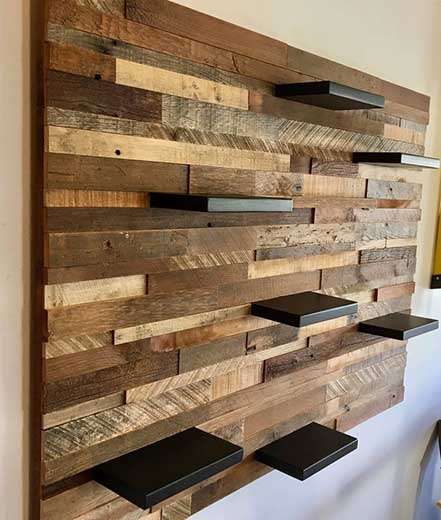
Wall decoration made of boards of different thickness and width.
From boards of any length, of different width and thickness, you can create several groups and make a wall decoration with a different spatial composition. In this way, a "plastic wall decoration" of good material will be created, because the different lengths of the boards allow removal (hiding) all defects. Due to certain rules for sticking boards to the wall, a certain amount of them should be accumulated.
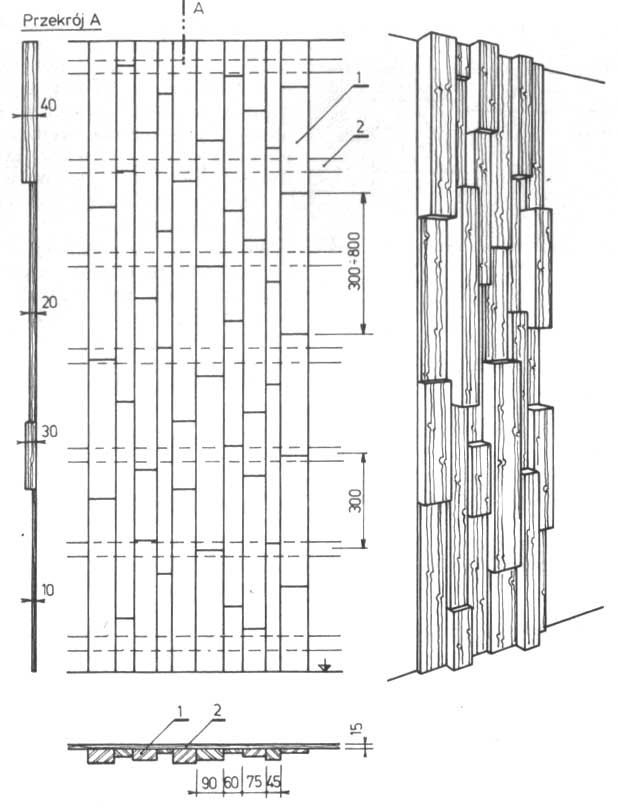
The best size series is as follows: thickness 10, 20, 30, 40 mm; width 45, 60, 75, 90 mm; length 300-800 mm.
The species of wood can be any. However, it is best if they are species with distinct wood grains (ash, oak, black locust, elm, pine, larch, Douglas fir).
The width of the boards must be very precise. Individual boards within the same width classes must be identical. Thickness deviations are not so significant. The length may be any within the range of 300-800 mm. It is also important to maintain the right angles of the frontal plane (rectangle). After sharpening five pages (frontal and 4-lateral) the boards are sanded. Two side planes, perpendicular to the grain, must be sanded very carefully because the kerf with any saw remains rough. A disc sander for wood is the best for this. Edges visible, i.e.. eight on each board, gently rounded with sandpaper.
The surface can be finished with gloss or mat with varnish, 5-plane spraying method. The description of the spraying is given in the article - Surface finishing of wooden boards.
The boards are glued to the precisely aligned grate. Because the boards are not nailed down, the thickness of the grate slats may be 15 mm. Instead of a dense mesh of slats of the mounting grid, you can use a chipboard with a thickness 14 the 17 mm. The glue is applied in stages, over the entire surface of the grate, so that it does not run off. All boards should be sorted beforehand by thickness and width. In case of 4 thickness classes and 4 width classes we get a total combination 16 group. Polyvinylacetate adhesives are best suited for sticking, np. vicol or unprepared DC vinegar. The wikol glue is put on the grate with a putty knife. The width of the glue strip should be equal to the width of the glued board. After waiting for 2–4 minutes, the board is applied and pressed. In the case of using vinacet DC glue, smear both glued surfaces and press the frieze with your hand for a moment. After about 15-20 minutes, if the boards are at right angles and the wall is vertical, the connection is strong enough and the next piece can be glued.
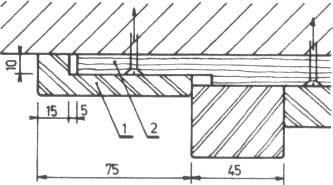
Drawing. Grate spacing and pattern of lining boards of various thickness and width: 1 - boards, 2 - scaffolding strip.
When gluing the boards, follow these rules:
- boards of the same thickness cannot be in contact with each other,
- front joints must not be on the same level,
- two adjacent columns of boards cannot be of the same width.
Very important assembly steps include aligning the first column of boards vertically and horizontally. If the floor covering does not cover the entire height or width of the wall, the edge must be properly terminated, that the slats of the grate are not visible. For this, the last row or column can be lined with half-groove boards (drawing).
Drawing. Finishing the last row with notched boards: 1 - extreme board with a notch, 2 - the slat is thinner at the end.